I’ll be honest—when I first bought a non-slip bath mat, I thought it was going to be a hassle to maintain. I’d heard stories from friends about mold creeping up underneath, and I worried that all those tiny suction cups would trap dirt and grime forever. But after using mine for over three years now, I’ve learned that keeping a non-slip bath mat clean isn’t nearly as complicated as it sounds. It just takes the right approach and a little consistency.
Why Non-Slip Bath Mats Need Special Attention
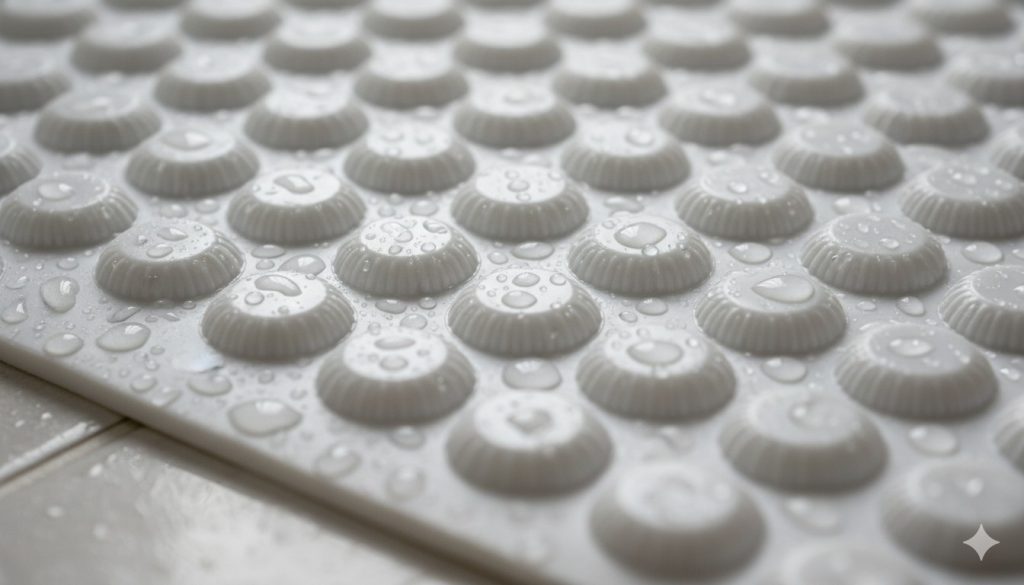
Here’s the thing about non-slip bath mats that most people don’t realize right away: because they’re designed to grip your bathroom floor, they actually hold onto moisture longer than regular mats. Those suction cups that keep you from slipping? They also create tiny pockets where water, soap residue, and bacteria can hang out. That’s why proper bath mat maintenance is so important if you want yours to last and stay fresh.
The good news is that once you understand what you’re dealing with, keeping your non-slip surface clean becomes second nature. I’ve gone from feeling a little anxious about mold and mildew to having a mat that actually looks and smells great.
Getting Started: Daily Habits That Make a Difference
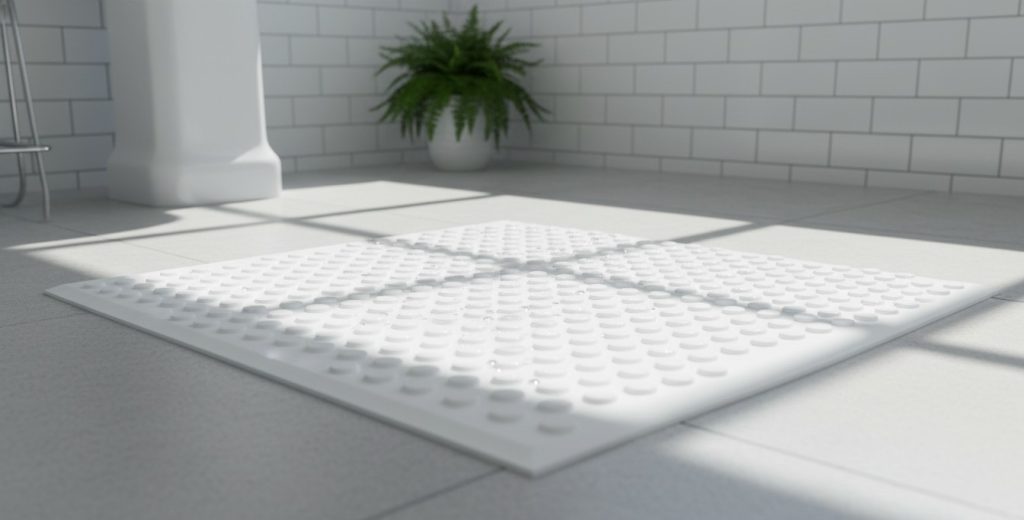
I learned pretty quickly that prevention is way easier than dealing with problems later. Right after my shower, I lift my mat up and let air flow underneath it. This might sound simple, but it’s honestly the single most important thing you can do for non-slip bath mat cleaning. By giving that underside a chance to dry, you’re preventing the exact conditions where mold and mildew love to grow.
I also started hanging my mat on the side of the tub or draping it over a towel rack a few times a week, just for a couple of hours. It keeps the air moving and stops that damp, stale smell from developing. Trust me, this beats scrubbing mold later.
Another habit I picked up is wiping down the mat with a dry towel right after use. It sounds extra, but it genuinely helps remove soap residue and excess moisture. You don’t need to do this every single time, but even a few times a week makes a real difference.
The Weekly Wash: Your Main Defense Against Buildup
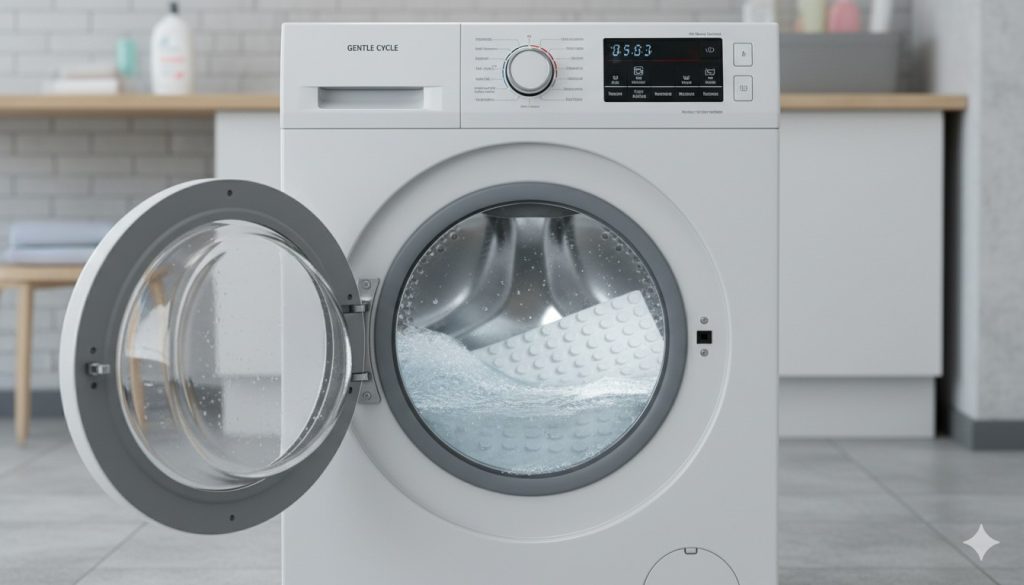
Once a week, I actually wash my non-slip bath mat properly, and this is where things really change. I throw mine in the washing machine on a gentle cycle with warm water and a bit of mild detergent. Most non-slip mats can handle this, but I always check the manufacturer’s instructions first because some have stronger backing than others.
What I’ve noticed is that a regular machine wash does an incredible job removing soap buildup, body oils, and the stuff that leads to that grimy feeling. After the wash, I make sure to air dry it completely—either laid flat or hung up—before putting it back in the bathroom. Never throw it in the dryer, by the way. The heat can actually damage those suction cups and break down the mat faster.
Dealing With Stains and Discoloration
I’ve definitely dealt with stains on my mat over the years. Some of these show up from mineral deposits if you have hard water, others from dirt tracked from outside, and honestly, sometimes just from regular use and age. When I need to remove stains from bath mat, I’ve found that a simple solution of white vinegar and water works wonders.
I mix equal parts white vinegar and water in a spray bottle, spray it on the stained areas, let it sit for about fifteen minutes, and then gently scrub with an old toothbrush or a soft brush. The vinegar is strong enough to handle stubborn spots without being so harsh that it damages the mat. After scrubbing, I rinse it thoroughly and let it dry completely.
For really stubborn stains, I sometimes make a paste with baking soda and water. I apply it to the problem area, let it sit for thirty minutes, scrub gently, and rinse well. This combination works on everything from mold spots to rust stains, and it’s so much safer than using harsh chemicals that could break down the mat material.
The reason I stick with natural cleaning methods instead of bleach is simple: bleach can degrade the rubber and damage those non-slip features you paid for in the first place. I’ve seen what happens when people get too aggressive with harsh cleaners, and it’s not worth it.
How to Clean Bath Mat: Deep Cleaning When You Need It
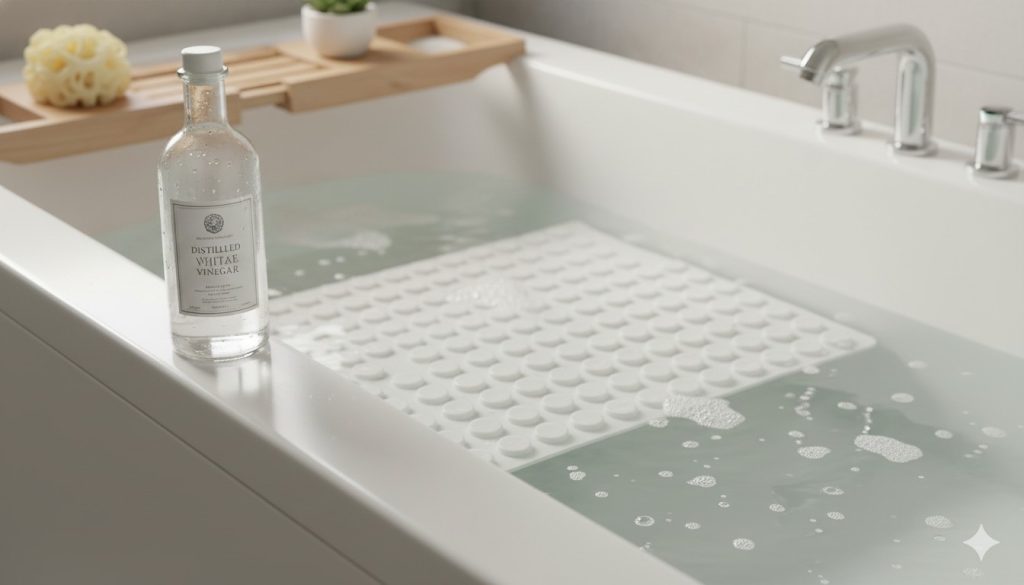
Every month or so, I do a deeper clean that goes beyond the regular wash. I fill my bathtub with warm water and add about a cup of white vinegar, then let the mat soak for about an hour. This helps kill any bacteria or mold spores that might be hiding in the deeper fibers.
After soaking, I give the mat a gentle scrub with a soft-bristled brush, paying special attention to the underside with those suction cups. Then I rinse it really well under running water until I don’t see any vinegar suds left. This deep bath mat care tips routine honestly keeps everything fresh and extends the life of the mat significantly.
Preventing Mold on Bath Mat: The Key to Long-Term Success
I think preventing mold on bath mat is where most people struggle because they don’t realize how much moisture is the culprit. Here’s what I’ve learned: mold grows when your mat stays wet or damp for too long without proper air circulation.
The best defense is making sure your bathroom has decent ventilation. I always turn on my exhaust fan during and for about twenty minutes after my shower. If you don’t have an exhaust fan, opening a window works too. This is honestly one of the most underrated bath mat maintenance strategies because it addresses the root cause.
I also never leave my mat bunched up or folded while it’s damp. Even if I’m in a rush, I spread it out flat or hang it up. When a mat stays compressed and moist, mold can develop in just a day or two. I’ve seen this happen with a guest mat I forgot about once—not fun.
Knowing When It’s Time for a Replacement
After using my mat for three years, I’ve reached a point where I’m thinking about replacing it soon. The suction cups aren’t as grippy as they used to be, and even with consistent cleaning, there are some discoloration spots that won’t come out. This is totally normal.
If you find that no amount of non-slip bath mat cleaning brings your mat back to looking decent, or if the underside is breaking down, it’s probably time for a fresh one. A good quality mat should last anywhere from three to five years with proper care, so if you’re in that range, don’t feel bad about upgrading.
Final Thoughts on Bath Mat Care Tips
Honestly, keeping a non-slip bath mat clean has become such an automatic part of my routine that I barely think about it anymore. The key is really just addressing moisture, doing regular cleanings, and catching any issues early. It’s not complicated or time-consuming—it’s just about being intentional.
If you’re someone who’s been intimidated by the idea of how to keep non slip bath mat clean, I promise it’s easier than you think. Start with the daily habit of lifting your mat after showers, add a weekly machine wash, and you’re honestly already doing better than most people. Your mat will thank you, and you’ll have a bathroom that feels fresher and more hygienic as a result.
Leave a Reply