I’ll be honest—there’s nothing more terrifying than feeling your feet start to slide out from under you in the shower. I learned this the hard way about three years ago when I nearly took a tumble on my favorite bath mat. That’s when I decided I’d had enough of the constant worry and started researching ways to make a bath mat non-slip. What I discovered completely changed how I feel about bathing, and I’m here to share everything I’ve learned.
Understanding the Problem: Why Bath Mats Slip
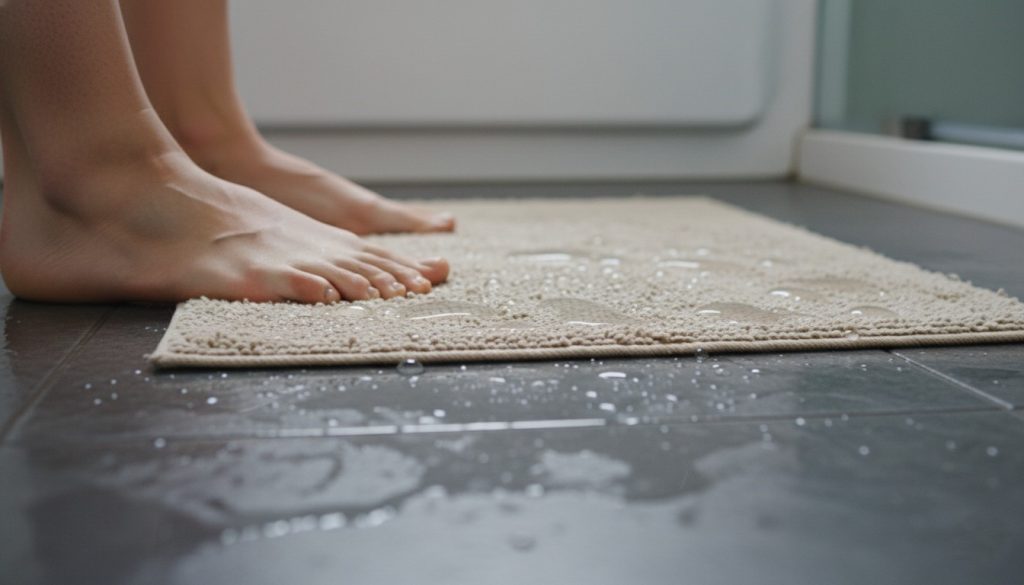
Before diving into solutions, it’s worth understanding why this happens in the first place. Most traditional bath mats lack proper grip, especially when they’re wet. The water creates a slippery barrier between the mat and your shower floor, which means even the thickest, most expensive mats can become a safety hazard. I realized my old mat wasn’t designed to stay in place—it was just sitting there hoping for the best, and that wasn’t good enough for me or my family.
The reality is that a standard non-slip bath mat isn’t always enough. Even products marketed as “non-slip” can shift or move over time, especially with regular washing and foot traffic. That’s why taking extra steps to maintain or enhance your mat’s grip is actually a smart investment in your safety.
Method 1: Using Non-Slip Bath Mat Coating
One of the first solutions I tried was a non-slip bath mat coating, and honestly, it was a game-changer. These are adhesive sprays or liquid treatments that you apply to the bottom of your mat to create a rubberized surface that grips the tile or tub floor.
How to Apply Non-Slip Coating
The process is surprisingly straightforward. First, I cleaned the bottom of my mat thoroughly and let it dry completely—moisture is your enemy here. Then I applied the non-slip coating in thin, even layers according to the product instructions. Most products I’ve used require you to let them cure for 24 to 48 hours before using the mat again, so timing your application for when you can live without your bath mat for a couple of days is important.
What I appreciated most was how affordable this option was. A can of non-slip coating typically costs between $8 and $15 and can treat multiple mats. The coating has held up really well through regular washing—much better than I expected. My mat now feels genuinely secure on my bathroom floor, which gives me real peace of mind.
Pros and Cons of Coating Products
The main advantage is the dramatic improvement in grip. Within minutes of application, my mat went from slightly slippery to genuinely secure. The coating is also durable and can last for several months or even years with proper care.
The downside? Some people find certain products have a chemical smell that takes a few days to fade. Also, once the coating starts to wear down, you’ll need to reapply it. It’s not a permanent solution, but for the price and ease of application, I think it’s absolutely worth it.
Method 2: Installing a Grip for Bath Mat
Another approach I explored was using adhesive strips or gripper pads designed specifically for bath mats. These are typically made from rubber or silicone and stick directly to the bottom of your mat or the floor itself.
Adhesive Strips and Gripper Pads
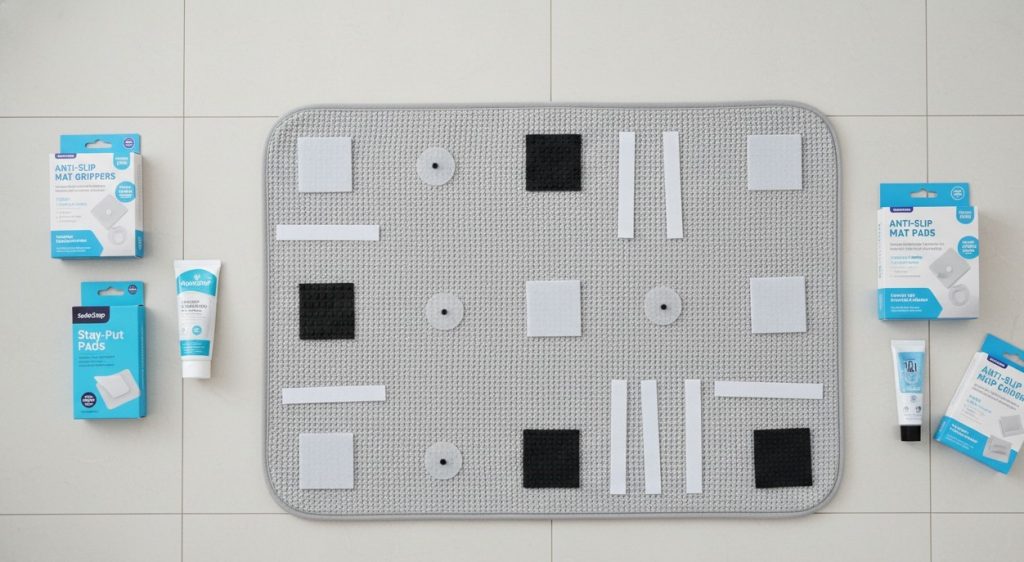
These products come in various forms—some are strips you arrange in a grid pattern, while others are corner pieces or full mat-sized pads. I tested both approaches. The strips gave me good control over where the grip was concentrated, particularly around the edges and high-traffic areas. The corner pieces were simpler but sometimes felt less secure in the middle of the mat.
What I found most helpful was using multiple gripper pads distributed across the bottom surface rather than just at the corners. This prevented the mat from bunching up in the middle, which had been an issue with my previous setup. Installation took all of five minutes, and the difference was immediate.
Durability and Maintenance
The adhesive strips hold up well for about six to eight months in my experience, depending on how frequently you wash the mat. Some adhesives weaken with repeated washing and moisture exposure, which means you might need to replace them periodically. However, they’re inexpensive enough that this isn’t a major concern.
One important tip: make sure the floor is completely clean and dry before applying adhesive strips. Any dust or moisture will seriously compromise their grip, and you’ll be disappointed with the results.
Method 3: DIY Anti-Slip Bath Mat Solutions
If you’re the DIY type like I am, there are several creative approaches to making a bath mat non-slip without buying specialized products.
Using Non-Slip Shelf Liner
This was my favorite budget-friendly discovery. Non-slip shelf liner costs just a couple of dollars and works remarkably well as a bath mat anti-slip treatment. I simply cut it to fit the bottom of my mat and adhered it with fabric glue or spray adhesive. The results were just as good as commercial products but at a fraction of the cost.
The texture of the shelf liner grips beautifully against tile and tub surfaces, and it holds up well through washing. The only drawback is that you need to be careful not to use too much adhesive, or you’ll damage the mat material. I learned this the hard way on my first attempt.
Rubber Glue and Rope Method
Another technique I read about involved applying rubber glue in strategic lines or patterns on the bottom of the mat, but I found this method less consistent than other options. The glue can crack and peel over time, especially with frequent moisture exposure. I’d recommend this as a last resort if other methods aren’t available.
Preventing Bath Mat Slipping: Long-Term Maintenance
Here’s something I’ve learned that’s just as important as the initial solution: maintaining your non-slip bath mat is crucial for long-term effectiveness.
How to Keep a Non-Slip Bath Mat Clean
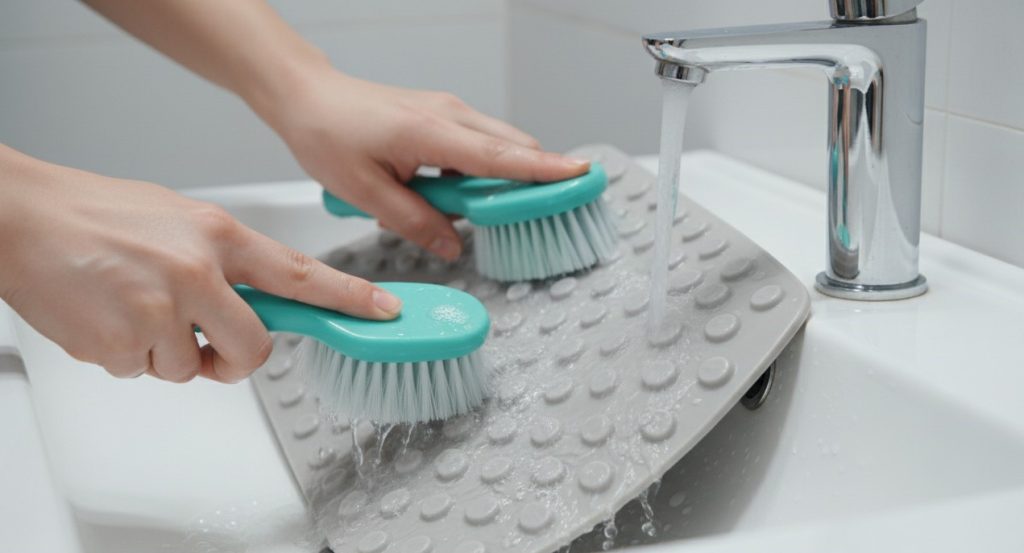
The biggest enemy of a non-slip surface is buildup—soap residue, shampoo, and hard water deposits can interfere with the grip. I wash my mat every two weeks in warm water with a mild detergent. For stubborn buildup, I soak it for 15 minutes, then scrub the bottom gently with a soft brush before rinsing thoroughly.
What I’ve found works best is occasionally wiping down the bottom of my mat with a damp cloth after my shower. This simple habit prevents soap and mineral buildup from accumulating, which keeps the grip at its peak performance. It takes maybe 30 seconds but makes a noticeable difference over time.
Avoid using bleach or harsh chemicals on non-slip surfaces, as these can degrade the rubber coating. I learned this lesson when I tried to deep-clean my mat with bleach and ended up compromising the finish. Stick with gentle, soap-based cleaners instead.
Drying Your Mat Properly
After washing, always hang your mat to dry completely before putting it back in the bathroom. Moisture trapped underneath can weaken adhesive grips or create mold growth, which defeats the purpose of having a safe, clean bathroom space. I hang mine on the shower rod overnight and it’s ready to go by morning.
Comparing Methods: What Actually Works Best
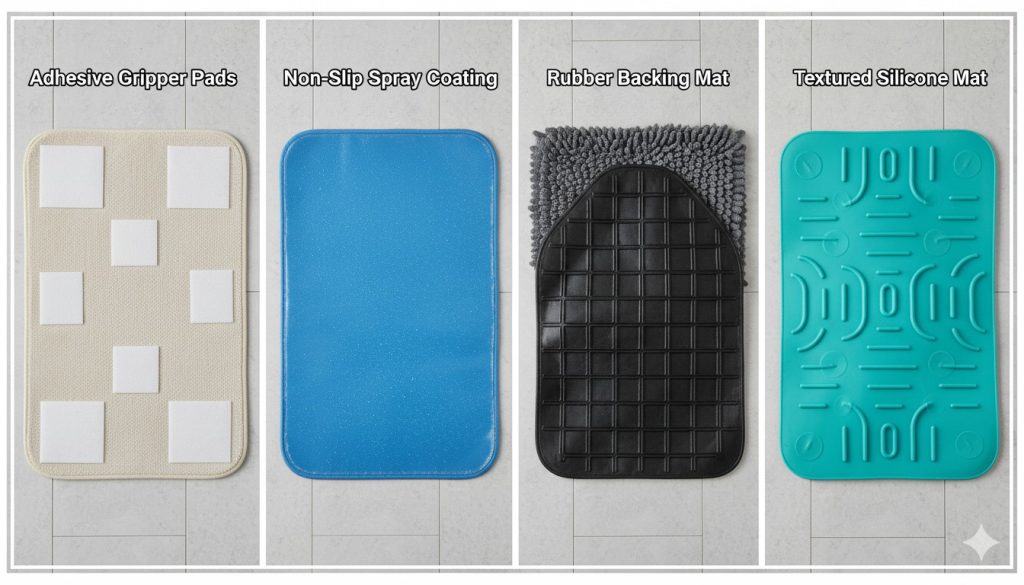
After trying all of these approaches, here’s my honest assessment. Non-slip coating spray is the most effective overall for permanent or semi-permanent grip enhancement. It’s affordable, quick to apply, and delivers real results. However, if you want something with zero curing time and more flexibility, adhesive gripper pads are excellent too.
For budget-conscious shoppers, non-slip shelf liner offers impressive bang for your buck. It’s not as durable long-term, but for a temporary solution or rental situations, it’s hard to beat the price.
The DIY rubber glue approach is honestly the least reliable of the bunch. I’d skip this one unless you’re in a pinch.
Additional Safety Tips
Beyond making your mat non-slip, there are other things worth considering. First, ensure your bathroom floor itself isn’t slippery. A non-slip bath mat works best when paired with appropriate floor surfaces. I’ve also found that having a nearby grab bar or towel rack provides extra security when I’m stepping in and out of the tub.
Also, pay attention to the mat’s thickness and construction. A well-made, cushioned anti-slip bath mat provides both comfort and safety. Thin, flimsy mats tend to be more prone to shifting, regardless of how you treat them.
Final Thoughts
Creating a safe bathroom environment isn’t complicated, but it does require some attention and planning. Whether you choose a commercial non-slip bath mat coating, adhesive gripper pads, or a DIY solution, the important thing is taking action. That moment of fear when my feet started to slide was enough motivation for me to solve this problem, and I’m grateful I did.
These days, I step into my shower without worry. My mat stays exactly where I put it, and I’ve taught my kids that bathroom safety matters. If you’re currently dealing with a slippery bath mat situation, I genuinely encourage you to try one of these solutions. Your future self will thank you when you’re standing confidently on a secure surface, knowing you’ve eliminated one of the most common household hazards.
The key is remembering to maintain whatever solution you choose. A non-slip bath mat isn’t truly non-slip unless you keep it clean and in good condition. With proper care and attention, any of these methods will serve you well and keep your bathroom a safer space for everyone.
Leave a Reply