I’ll be honest—when my washing machine broke last year, I panicked about how I’d keep my bath mats clean. They get grimy pretty quickly with all the moisture, hair, and soap scum they accumulate. But here’s what I discovered: you can actually get your bath mats just as clean without a washing machine. In fact, I’ve found some methods work even better than tossing them in the dryer. Let me walk you through what I’ve learned about hand washing bath mats and keeping that non-slip coating intact.
Why Your Bath Mat Deserves Better Care
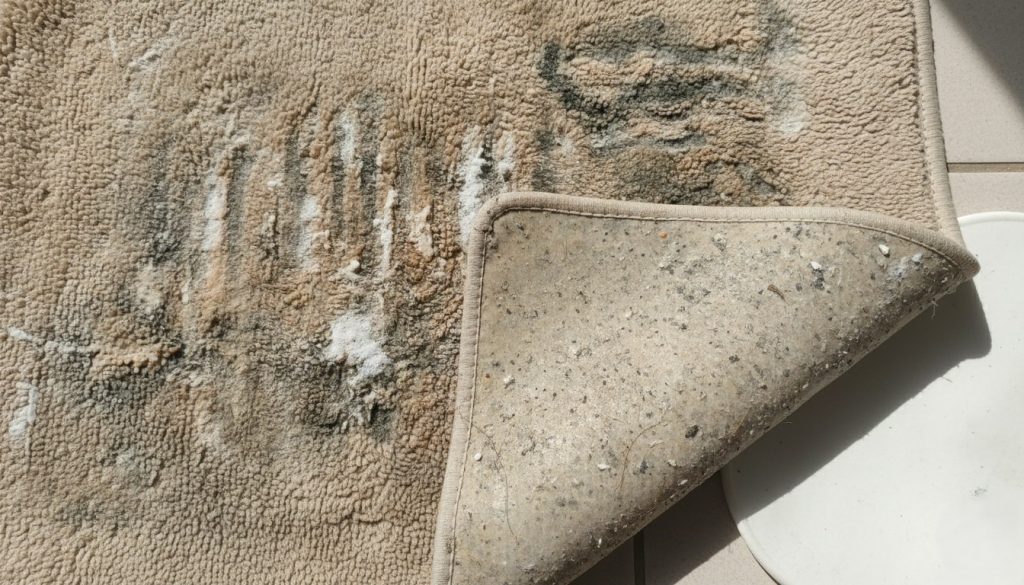
Before I dive into the actual cleaning process, let me explain why this matters. Your bath mat is doing serious work. It’s absorbing water from your shower, trapping dirt and dead skin cells, and preventing you from slipping on a wet floor. Over time, that non-slip backing can deteriorate if you’re not careful with how you clean it. I’ve ruined more than one mat by being too rough, so trust me when I say the gentle approach is worth learning.
Understanding Your Bath Mat’s Composition
Most modern bath mats have a cotton or microfiber top layer with a rubber or PVC non-slip backing. That backing is the tricky part—it’s what keeps you from taking a tumble, but it’s also sensitive to high heat and rough scrubbing. When you’re figuring out bath mat cleaning methods, you need to think about both layers. The cotton gets stained and stinky, while the backing just gets brittle and less effective over time.
The Best Bath Mat Care Tips: Prevention First
Here’s something I wish I’d known earlier: preventing heavy buildup is half the battle. After each shower, I now wring out my mat and hang it to dry completely. Sounds simple, but it makes a huge difference. If moisture sits in the fibers, you’re creating a breeding ground for mildew and bacteria. I hang mine over my shower rod or a towel rack, making sure both sides get air exposure.
Another tip that’s saved me is shaking out your mat regularly. Just take it outside and give it a good shake to remove loose dust and debris. I do this once a week, and it dramatically reduces how often I need to do a deep clean.
Hand Washing Bath Mat: The Step-by-Step Process
Preparing Your Mat for Cleaning
First, I assess how dirty the mat actually is. Is it just dusty? Is there visible mold? Does it smell? These answers determine my approach. For light cleaning, I skip to the vacuuming step. For heavier soiling, I start here.
I take my mat to the bathtub—this is my go-to cleaning location because I have space to work and a drain. You could also use a large basin or even do this outside with a hose if the weather’s nice. Fill the tub with about 4-6 inches of lukewarm water and add a gentle detergent. I use either regular laundry detergent or a mild dish soap. Avoid anything too harsh or bleach-based, especially if your mat has color or a sensitive backing.
Soaking and Initial Cleaning

Let the mat soak for about 15-20 minutes. This helps loosen the dirt and grime. While it’s soaking, I’ll prepare a soft-bristled brush or an old toothbrush for the detailed work. Never use a stiff scrub brush—that’s how you damage the non-slip backing.
After soaking, I drain the soapy water and gently agitate the mat by hand. I work my fingers through the fabric, really massaging it to help release trapped dirt. For the backing, I use a gentle circular motion with my soft brush. This is where you need patience. Rushing this step is tempting, but slow and steady wins the race.
Remove Stains from Bath Mat: Targeted Approach
Sometimes you’ve got stubborn stains—I’m talking about dark mildew spots or rust marks. This is where a targeted stain treatment comes in handy. I mix equal parts white vinegar and water to create a spray. Spray it directly on the stain and let it sit for 10 minutes. Vinegar is naturally antibacterial and doesn’t damage the mat like bleach can.
For really tough stains, I make a paste with baking soda and water and apply it directly to the problem area. Let it sit for 15-20 minutes, then gently scrub and rinse. I’ve found this works amazingly well for mold spots without being too aggressive.
Never use bleach on colored mats—I learned this the hard way when I ended up with faded patches. Even on white mats, undiluted bleach can weaken the backing material.
The Rinse Process
This is crucial. I rinse thoroughly under running water until the water runs clear and I don’t smell any soap residue. I usually do 2-3 rounds of rinsing to be sure. Leftover detergent makes your mat smell funky and leaves residue that attracts more dirt. Plus, all that soap can irritate your skin when you step on the mat later.
For the backing, I pay special attention to making sure no soap gets trapped in the rubber. I use my fingers to work water through the non-slip surface, ensuring it’s completely clean.
Drying Bath Mat: The Often-Overlooked Step
Here’s where I see most people make mistakes. After a hand washing bath mat, the drying process is just as important as the cleaning. Never throw it in the dryer—high heat will damage that rubber backing and make it brittle or even cause it to peel off. I’ve seen this happen, and it’s not pretty.
Instead, I hang my mat in a well-ventilated area. I prefer outside in the sun when possible because UV light naturally disinfects. If you have to dry indoors, choose a spot with good air circulation. I sometimes fan-dry mine in front of an open window or near a fan. It takes longer than a dryer, but your mat will actually last years longer.
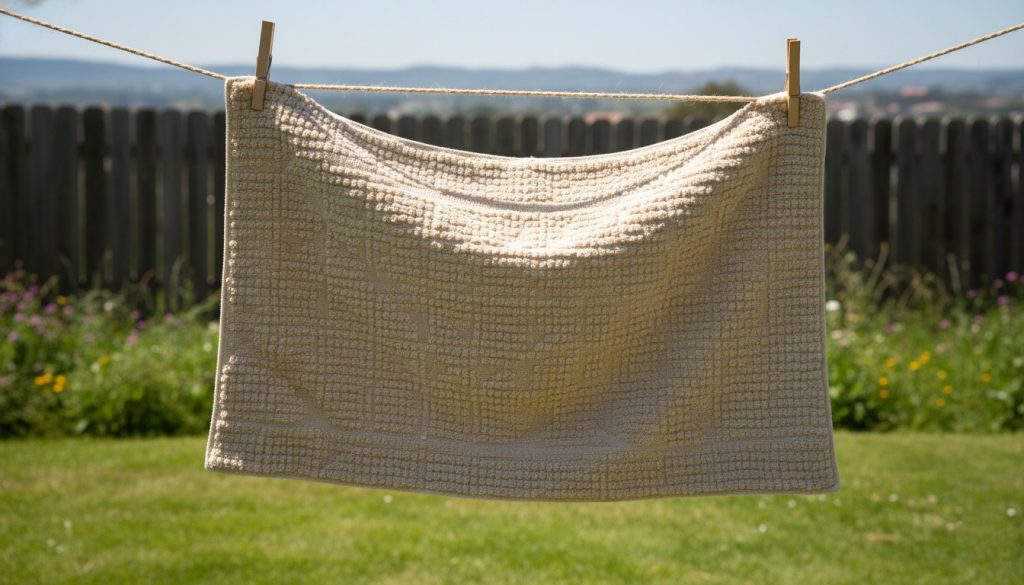
I flip the mat halfway through the drying process to ensure both sides dry evenly. Typically, it takes 24-48 hours to completely dry, depending on humidity and air circulation. You want it to be completely dry before using it again to prevent mildew growth.
Alternative to Washing Machine: Quick Maintenance Cleaning
Not every cleaning needs to be this thorough. For regular maintenance between deep cleans, I use a simpler method. I vacuum both sides of the mat with a handheld vacuum to remove surface debris. This takes 2 minutes and keeps things from getting out of control.
If the mat smells a bit off but isn’t visibly dirty, I spray it with a mixture of equal parts white vinegar and water, let it air dry completely, and that usually refreshes it. This is my go-to when I’m short on time.
Special Considerations for Non-Slip Bath Mats

Keeping that non-slip bath mat clean while preserving the backing is an art. The rubber or PVC coating is what makes the mat functional, and it requires gentler treatment than the fabric top. Avoid twisting or wringing the mat aggressively—handle it like you’re treating something delicate.
If you notice your mat slipping more than usual even after cleaning, the backing might be wearing down. Sometimes this just means it’s time for a new mat. A mat without effective non-slip properties is more of a hazard than a help. I typically get 2-3 years out of a quality mat if I take good care of it and clean it this way.
Dealing with Mold and Mildew
I live in a humid climate, so mold and mildew are constant battles. If you spot these, act fast. Mix one part white vinegar with three parts water and spray generously. Let it sit for 30 minutes, then hand wash and rinse thoroughly. The vinegar kills the spores and prevents regrowth.
For prevention, make sure your mat is completely dry before rolling it up or storing it. I’ve learned the hard way that even slightly damp mats will develop mold within days. If you’re storing a mat for an extended period, make sure it’s bone dry.
How Often Should You Really Clean Your Bath Mat?
In my experience, a deep hand washing bath mat cleaning is necessary every 2-3 weeks if you use it daily. If you live alone or shower less frequently, you might stretch it to monthly. Light maintenance cleaning—vacuuming and airing out—should happen weekly.
Pay attention to how your mat smells and looks. If it’s starting to smell musty or you see discoloration, it’s time for a deep clean. Don’t wait for it to get really gross. A little regular maintenance is way easier than resurrecting a batmat that’s been neglected for months.
Wrapping Up: Why This Method Works Better Than You’d Think
When my washing machine broke, I thought I’d have to buy new mats constantly. Instead, I discovered that hand washing is actually gentler and more effective for preserving quality. Bath mat cleaning methods don’t have to involve machines. I now clean mine by hand every few weeks, and they look and feel better than they did when I was machine washing them.
The key is patience and consistency. Gentle scrubbing beats harsh agitation, air drying beats heat damage, and regular maintenance beats panic cleaning. Your non-slip bath mat will thank you with years of reliable performance, and you’ll have peace of mind knowing exactly what it’s being exposed to.
Give this method a try. I promise you’ll be surprised at how effective it is, and your mats will last significantly longer. Plus, there’s something satisfying about taking care of your things by hand—it makes you appreciate them more.
Leave a Reply